Hardwood floors are beautiful to look at and walk on, but they are prone to scratching. Dragging a piece of furniture across the floor or the claws of an excited pet can leave unsightly scratches that attract the eye, particularly with angled sunlight.
The title of this article might be slightly misleading because there is only one way to remove scratches: to use sandpaper or wire wool. That might be the nuclear option if the scratches are deep, but there are a couple of things you can do before going there which allow you to hide light scratches or make them less noticeable.
This article will examine the four main methods of making scratches disappear. The following list starts by dealing with light marks and moves through to deeper scratches.
- Home remedies to make light scratches less noticeable
- Wax sticks or proprietary products that hide the scratches
- A partial refinish of an area
- Filling deep scratches or gouges
Before you start
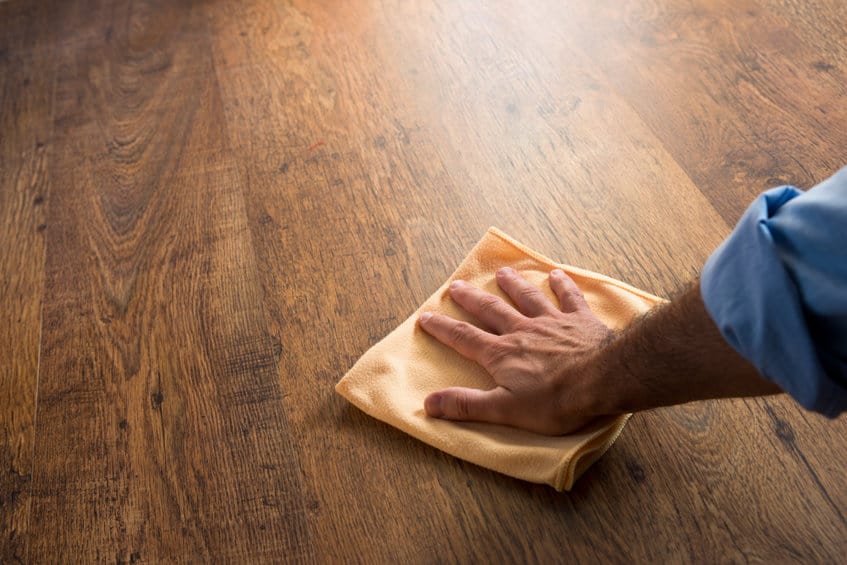
Before doing any of the following scratch removal techniques, make sure you give the floor, or at least the area you’ll be working on, a thorough clean. Scratches harbor dirt so don’t simply clean the surface but be sure to get into the scratches to remove all traces of contamination, otherwise, your results will be less successful. You might use an old toothbrush for deeper scratches. If the floor has been waxed or polished in the past, use a wax remover to ensure absolutely all traces of dirt, dust, and grime are gone.
Home remedies
There are various home remedies for making light scratches less obvious, and we don’t have the space to run through them all. It’s worth mentioning that these methods are not miracle cures – the scratch doesn’t disappear. However, these two will darken the scratch so that it doesn’t readily catch your eye. Be sure to conduct a test in an inconspicuous area first to see the result. These methods are only suitable for light scratches.
Olive oil
- Mix olive oil with either cider vinegar or baking soda (not both, or you’ll have more than scratches to worry about) and apply it to the scratches.
- The vinegar or baking soda are carrier mediums for the olive oil to ensure it gets into the scratches. Use vinegar for light scratches.
- Leave it to sit for five minutes or so until the oil has darkened the wood, then lightly buff the scratches with a soft cloth.
- Finally, dampen a cloth and lightly clean the area before drying with a dry cloth.
Walnuts
- The walnut kernel contains oil that you can use to darken scratches.
- Rub the walnut over the scratches from varying directions until the scratches have darkened to your liking and have become less obvious.
- Buff the area with a soft cloth.
This video by FIX IT Home Improvement Channel provides a good demonstration of the method:

Repair Markers and Wax sticks
These methods use tinted dyes or wax to fill prominent scratches and blend them to be less noticeable. While the method may appear obvious, there are some tips and tricks to getting the best results.
Repair Markers
- You’ll get mixed reviews on repair markers, but the technique is the secret to making them work.
- Select a color that is close to the wood color. Err on the side of a lighter color if you can’t decide.
- Don’t just draw on the scratch with the marker. You’ll be disappointed with the result, as often, the scratch will go very dark and stand out even more.
- Use a soft cloth, and liberally apply the point of the marker to the cloth in a small spot. You’re transferring the dye to the cloth.
- Then lightly rub that area of the cloth onto the scratch. Repeat until you get the desired effect.
- Buff the area once complete.
Watch the following video by Rosebud Company to see how it’s done:

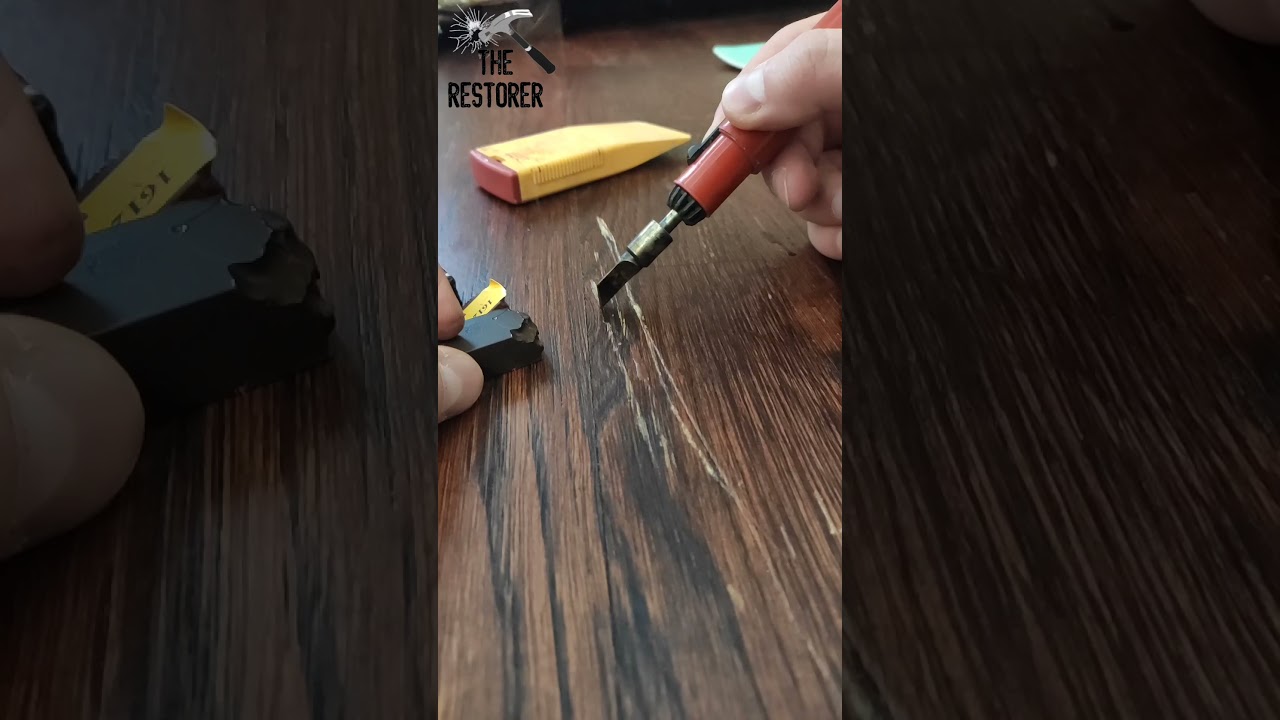
Wax sticks
- Wax sticks are melted with a supplied tool to fill the scratches and color them close to the original wood color.
- You can blend the different wax colors to achieve your desired wood tone.
- Remove the excess wax on the surface of the floor.
- Buff the area thoroughly.
The following video by The Restorer shows how effective this method can be:
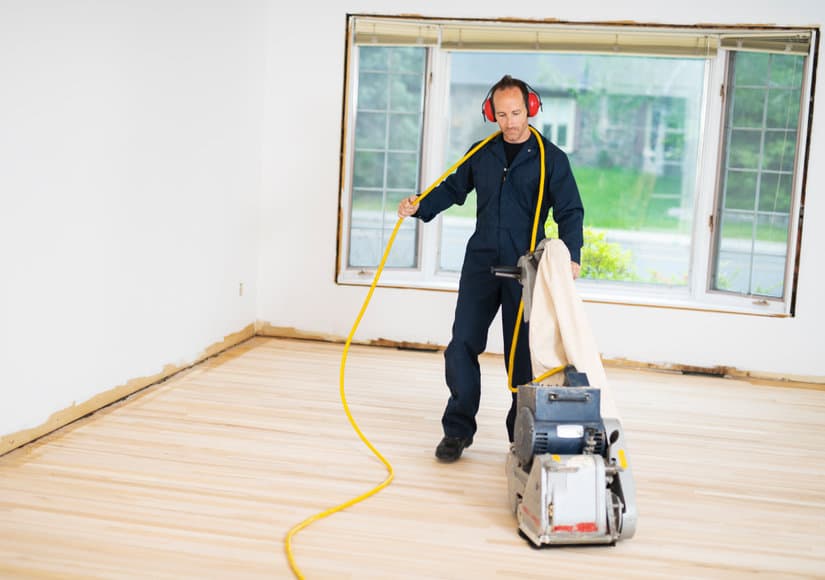
Sanding and finishing
A partial refinish by blending the scratch is needed if it has gone beyond the surface coating and has damaged the underlying wood. Before you start, remember that if you’re looking to sand or use steel wool on the surface of the floor, you’ll need to know what surface finish was previously used to allow you to repair the coating. The common finishes will be stain, wax, varnish, or polyurethane – either water or oil-based.
Step #1 Use steel wool
Using #000 steel wool, rub the scratch in the direction of the wood grain until the scratch has been largely removed. Keep the work area small and confined to the scratch; the larger the area you rub, the more obvious the repair will be and the more refinishing you’ll need.
Step#2 Feather the edge of the repair
Lightly buff the scratch and feather, or blend, the edges of the repair with either #000 steel wool, or #0000 steel wool. Be careful not to make the area more noticeable.
Step #3 Restore the surface finish
Restore the surface finish, but take care to match the repair to the surrounding surface. If I’m using polyurethane or varnish, I thin it down to apply light coats with a very small and precise brush. Lightly buff the surface with the #0000 steel wool between coats when dry. Do not use the steel wool on the top coat.
Step #4 Polish and buff the area
If the finish is not polyurethane, I like to use paste wax to buff the surface. The wax fills any last imperfections, and you can buff it down to a nice sheen.
Filling Deep Scratches Or Gouges
With really deep gouges, you’ll need to fill these with a wood filler that closely matches the timber color.
Step #1 Clean the scratch or gouge
Clean the gouge and the surrounding area using mineral spirits and a scouring pad. Allow the area to dry fully.
Step #2 Fill the damage
Use a putty knife to fill the damage with the colored wood filler, ensuring it’s slightly overfilled. Let it dry fully.
Step #3 Sand the dried wood filler back
Use 180-grit sandpaper and sand the wood filler back to level with the surrounding floor using a small sanding block.
Step #4 Repair the surface finish
Use the same coating that was originally used on the floor to touch up the repaired area. If it was polyurethane, do not use any wax products before, during, or after the repair.
Conclusion
Removing scratches completely can only be done by mechanical means. Every other method simply hides the damage. If the scratching is widespread and very deep, don’t attempt a local repair, as it only draws more attention to the area or makes the floor finish blotchy and uneven. Your only option is to refinish the floor in its entirety. Remember to keep your repair attempts very local and small. Proceed carefully. The larger you go, the greater the chance of drawing attention to the repaired area. Good luck.