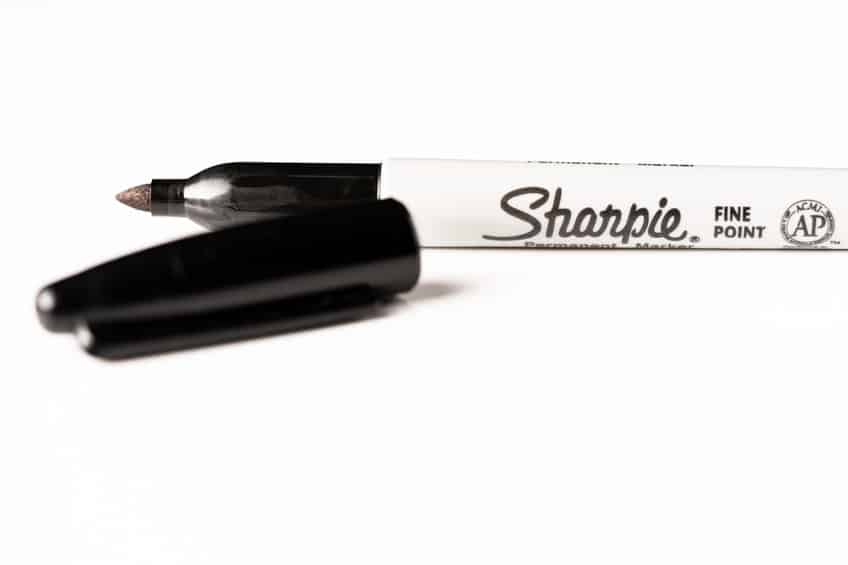
Yes, the hint is in the name. Once you get a permanent marker onto a surface, it’s pretty challenging to remove without a trace. Yet, some techniques do succeed quite well. You’ll need to experiment carefully.
I’ll take you through a few of the more successful removal methods. Before we get into that, let’s understand what ingredients go into permanent marker ink.
What Is In Permanent Marker Ink?

Permanent ink comprises three main ingredients. There is the dye or colorant, a resin, and a solvent or carrier medium. Other additives and binders assist drying, but they don’t concern us for this discussion.
The purpose of the solvent is to ‘carry’ the other ingredients. It allows the resin and color to flow through the fibrous nib and soak into a surface. The resin exists to create a bond with the surface to which the ink is applied. When the solvent dries, it leaves the resin bonded with the surface.
I’m sure I don’t need to spell out what we use the color for. Yet, it’s worth knowing that the pigments and dyes used are water-resistant.
Different Wood Surfaces
The technique you use to remove the ink depends on whether there is a surface coating and what it is. All of the techniques we use involve solvents or solvents and abrasives together.
Here’s the usual disclaimer – always test these techniques on an inconspicuous area first. Get it wrong, and you’ll be wishing you had left the permanent ink as it was!
Please use gloves when doing these techniques and ensure you ventilate the area you’re working in for safety. Some of these chemicals have strong odors which you seriously do not wish to be breathing in.
Solvents
Isopropyl Alcohol

Be aware that you can buy different strengths of isopropyl alcohol. When mixed with water to a 70%/30 mix, it’s used for disinfection and to treat wounds. When used at 99% strength, it’s suitable for industrial purposes. You can use either, but we don’t need water for our purposes, so I’d recommend the 90% option, such as this product.
Using a clean, dry cotton cloth, dampen the cloth with the isopropyl alcohol. Be careful not to scrub at the stain, but dab it with the dampened cloth. Remember that resin we mentioned? We need to soften that. Don’t soak the surface too much!
Keep the cloth damp and keep dabbing. You’ll start to notice color transfer to the cloth. I like to change the point I’m using on the cloth every so often to avoid putting color back onto the wood. Once you’ve removed as much as you can with the alcohol, use water to dampen another cloth and wipe the area of the stain to remove any last traces of residue.
Be very careful with shellac using isopropyl alcohol or acetone. Too much solvent, and you’ll remove the shellac surface.
Acetone

Commonly in the house as nail polish remover, acetone is used similarly as isopropyl alcohol. Be careful not to scrub at the timber with acetone as it will damage wood fibers if misused. You won’t need much, so purchase a small bottle such as this.
Abrasives
Baking Soda
Sodium bicarbonate, or baking soda, is a crystalline salt used in cooking and many cleaning products. In our application, we’ll be mixing some with a bit of water to make a paste or slurry. Used as a gentle abrasive, you can apply the paste to the stain and rub it with a cloth in small circular motions.
If you have no baking soda but have ordinary toothpaste, that is also a very mild abrasive. Use it with the same circular motion as above. Don’t use gel toothpaste, however, as it’s not abrasive enough.
Sandpaper or Fine Steel Wool

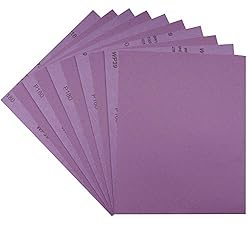
If your timber has no surface coating, such as varnish or shellac, you can use fine-grit sandpaper or fine steel wool. With unprotected wood fibers, the solvent in a permanent marker can soak in below the surface, so you may well be removing a layer of timber to remove the worst of it.
Keep your passes with the sandpaper light and in a larger area than just the stain. Depending on the wood density, you may not remove all the permanent marker ink, but you will lighten the stain.
In Summary
The watchword with any of these techniques is care. Test the technique in an inconspicuous area to see how the timber and the surface treatment react. Hope for removal, but settle for lightening of the stain. Good luck.
